

Homemade Wheat Thins
------------------------------------------------------------
1 1/4 cups whole wheat flour
1 1/2 tablespoons sugar
1/2 teaspoon salt, plus extra for topping
1/4 teaspoon paprika
4 tablespoons unsalted butter
1/4 cup water (you might need to add a little more)
1/4 teaspoon vanilla
1. Preheat oven to 400 degrees F. Line two baking sheets with parchment paper or silicone baking mats. (I just put them directly on the cookie sheet and it was fine.) Set aside.
2. Add the flour, sugar, salt and paprika to a medium bowl and whisk to combine. Cut the butter into small pieces and add it to the bowl. Using a pastry blender, mix the butter into the dry ingredients thoroughly. Combine the water and vanilla in a small measuring cup or bowl. Add to the butter/flour mixture and mix until a smooth dough forms. If the dough is still dry, add a little more water.( I ended up adding more water and beating the dough with my kitchen aid. Be prepared for a stiff dough though.)
3. Divide the dough into 4 pieces. Work with one piece at a time, keeping the others covered with a towel so they don’t dry out. Lightly flour your work surface and rolling pin and roll the dough into a large rectangle. Lift the dough and turn it as you roll to ensure it’s not sticking. You want to roll the dough as thin as possible, try to make sure it’s 1/16-inch thick at most. If you want all of your crackers to be perfect, trim the edges of the dough so you have a rectangle with even sides. Use a pizza cutter to cut the rectangle into squares about 1 to 1 1/2 inches wide.
4. Transfer the dough squares to the prepared baking sheets. You can place them close together because they will not spread. Sprinkle the squares lightly with salt. Repeat the rolling and cutting process with the remaining 3 pieces of dough. Save all of your scraps under the towel to keep the dough from drying out; reroll them all at once to create a final batch of crackers.
5. Bake the crackers, one sheet at a time, until crisp and browned, about 5-10 minutes. Check the crackers at 5 minutes, and if some of the thinner ones are browning too quickly, remove them from the oven. The crackers can burn quickly so you want to keep a close eye on them. Remove crackers from oven and place on a wire rack to cool. Store the crackers in an airtight container. - be sure to keep checking on them and then take them out when they are puffy but still light colored. The first batch I did I waited until I could visible see browning and in the end they were a little over done. I also noticed that they do keep baking quite a bit if you just leave them on the hot cookie sheet, so if they are brown take them off right away, if not leave them on a little bit.
 |
| Dry ingredients |
 |
| rolled out |
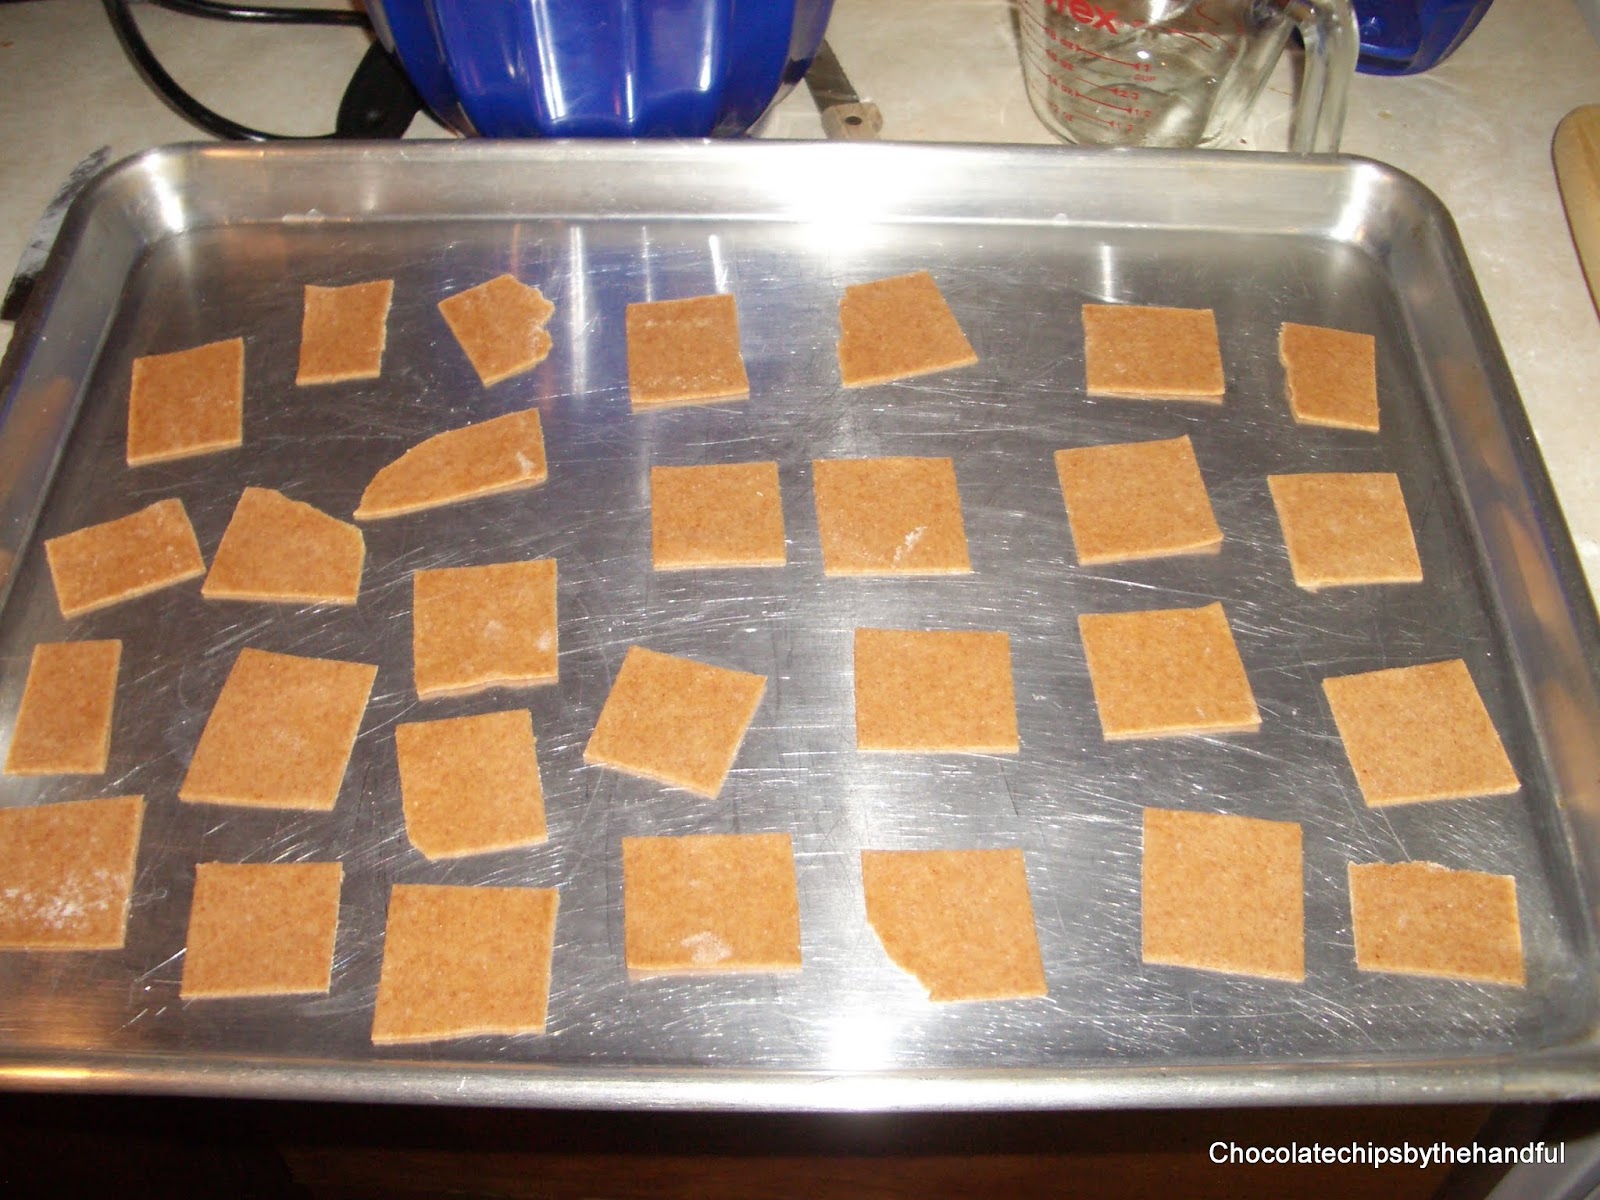 |
| ready to bake |
 |
| The first batch on the left, a little over done.... second batch on the right, perfect. |
No comments:
Post a Comment
Leave a comment! Especially if you made the recipe!